
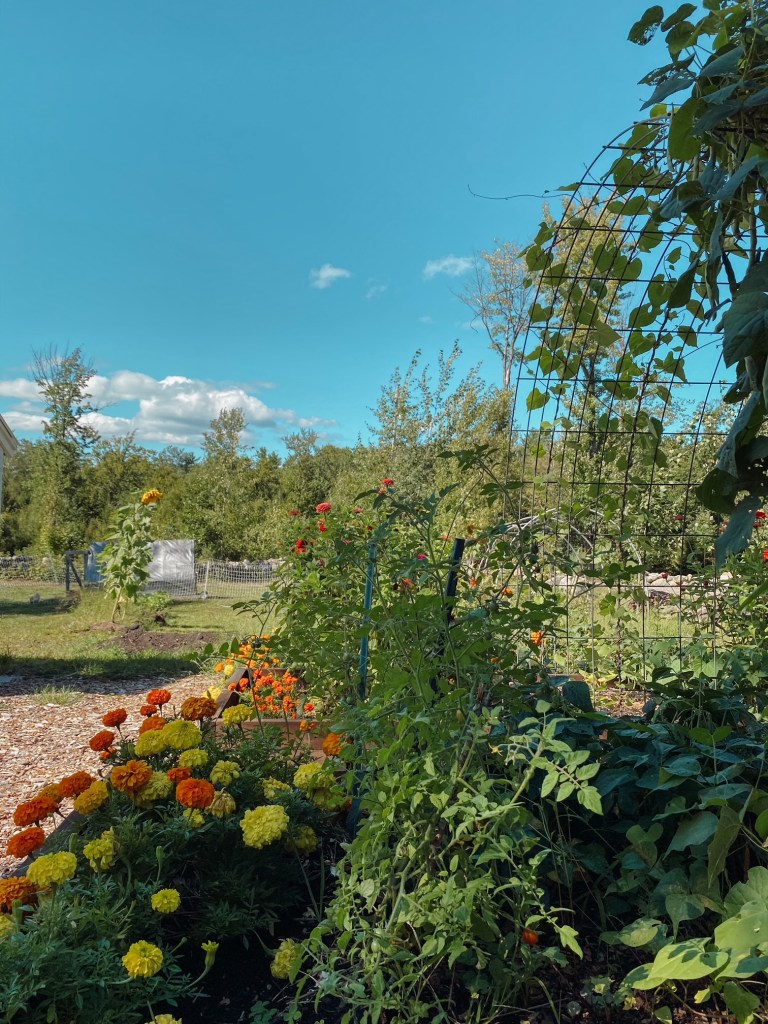
It’s always so exciting looking forward to next year’s garden and planning out where everything will be. Every year is different, every year you can try something new, and every year you have more experience and might just be a little more successful than the last.

I’m just now getting around to organizing last year’s seeds so I can order more for this year. Luckily, I still have a lot left over, but there are a few things that I loved and need to order more of, and a few I have in mind that I would like to try. This will be our seventh-year gardening, and I have a pretty good idea of what we like and what we’ve been successful at growing.
I’m going to share our steps towards building our garden this year, and I hope some of you will grow along with me.
I’ve always kept my seed packets in a small cardboard box, or lately, in a plastic bin which is now overflowing with packets from last year. At one point, I had dividers or plastic bags separating the seed packets into categories but this organization has gone out the window from last year’s sporadic planting as I rushed to get seeds into the ground during nap times.
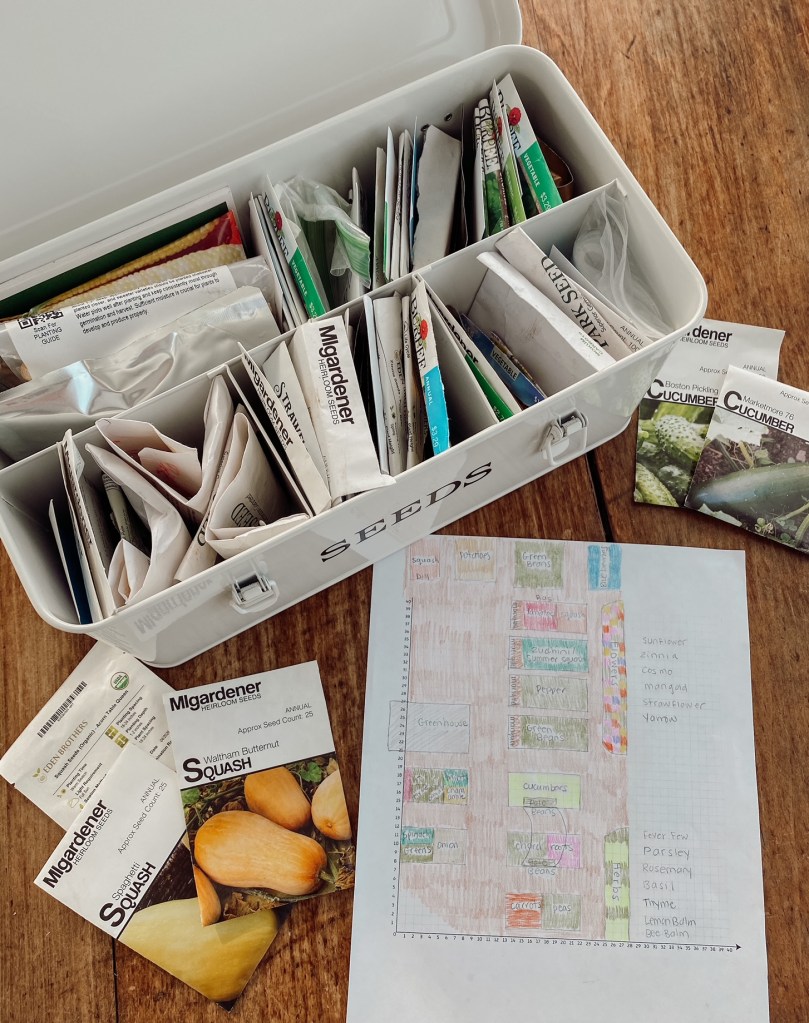
Two popular ways to store seeds are in plastic photo boxes, and in baseball/photo sleeves in a 3-ring binder. Neither of these methods were really calling to me, so I decided on this metal seed box with built-in compartments.

In this container, I can still organize into categories, but it will be easier to quickly grab a few packets that I need. If I used the photo boxes or photo sleeves, I feel like I would be in too much of a hurry to keep up with putting each seed packet back exactly where it goes.

When organizing your seeds and figuring out what you’re missing and would like to purchase for the upcoming season, you can categorize by type, or by planting date. I like to organize by type (squash, beans, herbs, flowers, etc.). This can also give you a good visual of what you’re lacking. Between looking at the seeds you have on hand already, and what you need in your garden plan, you’ll be able to make a thorough order.
No matter what you decide to use, be sure to store your seeds in a cool, dry, dark place. I usually keep my seeds in the garage, and most of the seeds should last a few years this way. Three to five years is a good general rule for seed longevity, but if stored properly, many seeds can last much longer than that. It also depends on the type of seed (larger seeds like beans and corn may be able to last much longer than small tomato or broccoli seeds, for example).
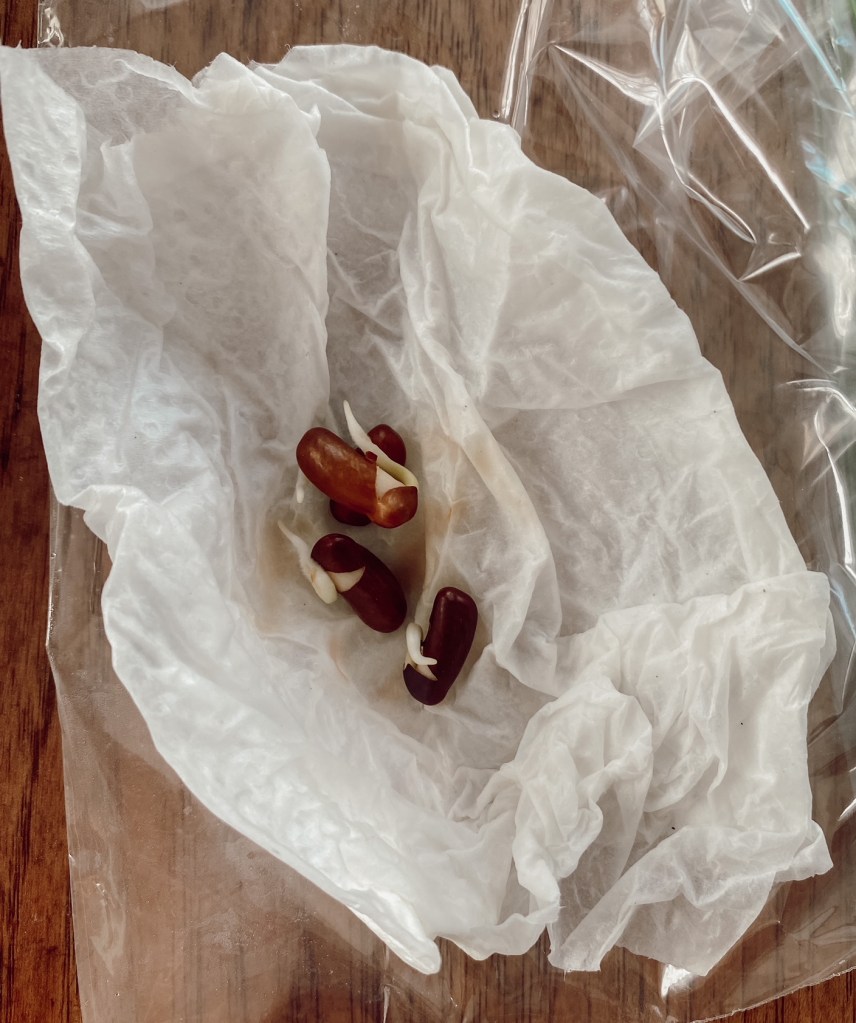
So how do you know if your 5-year-old seeds are still viable? Before ordering more seeds, you may want to do a germination test. This can simply be done by taking a handful of the seeds in question, putting them in a damp towel, then put the towel in a plastic bag and keep it in a warm place. Be sure to keep the towel damp, and check on the seeds around the time that they should germinate. Check your seed packet for the number of days until germination. By the end of the germination period, you can get an idea of the current germination rate based on how many have sprouted.
Below is my current garden plan. Confession – I don’t normally do this. I think maybe only 2 years I visually planned out my garden in advance. There were a number of years when I just started seedlings (often too many) and just put them in random places in the garden. Now, if you know me, this haphazard unplanned method of gardening might surprise you. This is partially due to the limited time I have to plant and maintain a large garden with very little kids, but there is also a purpose here. We’ve slowly been building and expanding our garden every year, adding soil, compost and nutrients, and learning as we go. Planting peppers in two different places in the garden, and green beans four different places in the garden, for example, was done on purpose. I’m curious – will the tomato and pepper plants grow bigger in this bed, or the one over there? Will the green bean plants produce more beans in one of these raised beds, or the one down the hill? One side of our garden gets some afternoon shade and the other does not. The soil is also different in every area of the garden, so I wanted to see what plants do best where.
And just because I have a garden plan this year, doesn’t mean it will be done exactly like this. I’m sure I’ll move a few things around, but hopefully I can have a little more order and direction this season.
Now that you have an idea of what kind of seeds you need, where do you buy them? There are so many reliable places to purchase seeds online. Over the last couple of years I’ve purchased most of my seeds from Park Seeds, Eden Brothers, and MI Gardener. It’s always been important that our seeds are non-GMO, and I’ve also become aware of which seeds are also organic and heirloom. Some companies sell specifically heirloom seeds, and some offer both heirloom and hybrids.
Depending on the type of plant you’d like to grow, and if saving seeds to grow in later years is important to you, it will determine if choosing only heirloom seeds is an important factor. Hybrids also have their benefits. Some may have extra flavor or be more disease resistant.
If you’re just starting out gardening, or don’t know what you should grow this year, I wanted to share my favorite and must-haves for even the smallest garden:
Vegetables:
Green Beans: Easy to grow and easy to freeze, these are always a must-have. Green beans don’t require starting indoors as they are direct sow, and I’ve had little to no issues with disease or pests. Fresh green beans are a favorite for my kids and are so much better than from the grocery store.

Spinach: Also direct sow and easy to grow, this superfood is packed with nutrients and super versatile. When you think of all the meals and smoothies that you can add spinach to, none will go to waste.
Zucchini: A third direct-sow vegetable is zucchini. Although you can start these indoors, I would recommend waiting to start outdoors. They grow pretty fast once they take off, and I’ve had issues with stunted plants after transplanting seedlings. I love growing zucchini for their versatility (baking and adding to pasta, soups, etc), and I’ve also stored extra zucchini by shredding and freezing into cubes for winter baking. The only downside to zucchini (or any squash plant) is you must keep an eye on these plants for pests. Squash bugs will take over if you aren’t careful.

Flowers
Marigolds: These flowers are always scattered throughout my garden. They help deter pests in the garden and are also great for the chickens, both in their diet and in their coop.

Zinnia: Also making an annual appearance around the garden are zinnias. These tall happy flowers are easy to grow (both from seedlings and direct sow), make great cut flowers, and come in so many different styles and colors.

Herbs
I have been very happy to have thyme and oregano in the garden. They’re both easy to grow, slow spreading herbs that can be harvested well into the fall. They’re used often in our kitchen, and homegrown is SO much better than from the store. Even dried and kept in a jar, they’re much more fragrant and flavorful than storebought.
Next on the to-do list for the garden will be marking a calendar for when each kind of plant needs to be started, and making sure we have the rest of our supplies on hand for starting seeds indoors. Stay tuned for an upcoming post on the essentials for starting seeds inside and the products that I have had success using.
I look forward to getting some things started in the next couple of weeks. It’s also encouraging starting gardening tasks in the winter when you’re still enjoying stored food from last year (it’s the first time I’m starting onions while still using last year’s stored onions!). It’s proof and motivation that gardening can and does pay off.

One response to “Seeds: Organizing, Ordering, and Must-Haves”
[…] plenty of time to prepare for your garden this year. After putting together a rough garden plan and ordering your seeds, there will likely be some plants that you’ll want to start indoors to transplant […]
LikeLike