
When working on a garden, just like any other project (or blog post), getting started can be the hardest part. As its still February, there is plenty of time to prepare for your garden this year. After putting together a rough garden plan and ordering your seeds, there will likely be some plants that you’ll want to start indoors to transplant outside.
Although you could purchase these starts at your local garden store, (which is a great back-up option in case some of your starts don’t germinate as well as you had hoped), investing in some seed starting supplies might be a good idea. Depending on the size of your garden and what you like to grow each year, purchasing all of your starts at the garden store can really add up. I’ve been starting my seedlings inside for a few years now and have figured out what products and methods work best in my home and for what I like to grow.
The essentials for starting seeds inside include lighting, trays, and the right soil. Depending on your space and how many trays you’ll be using, you may also need some shelving. Sounds simple, right? Well, it can be, but it can also be overwhelming with the number of options out there. Here are the items that I like to use:
I use wire shelving, like this one found here. I actually use this shelf in one of my kids’ closets, and I take it out during the two months or so I need it for seedling trays and just sacrifice the organization in that one closet for the sake of the plants….

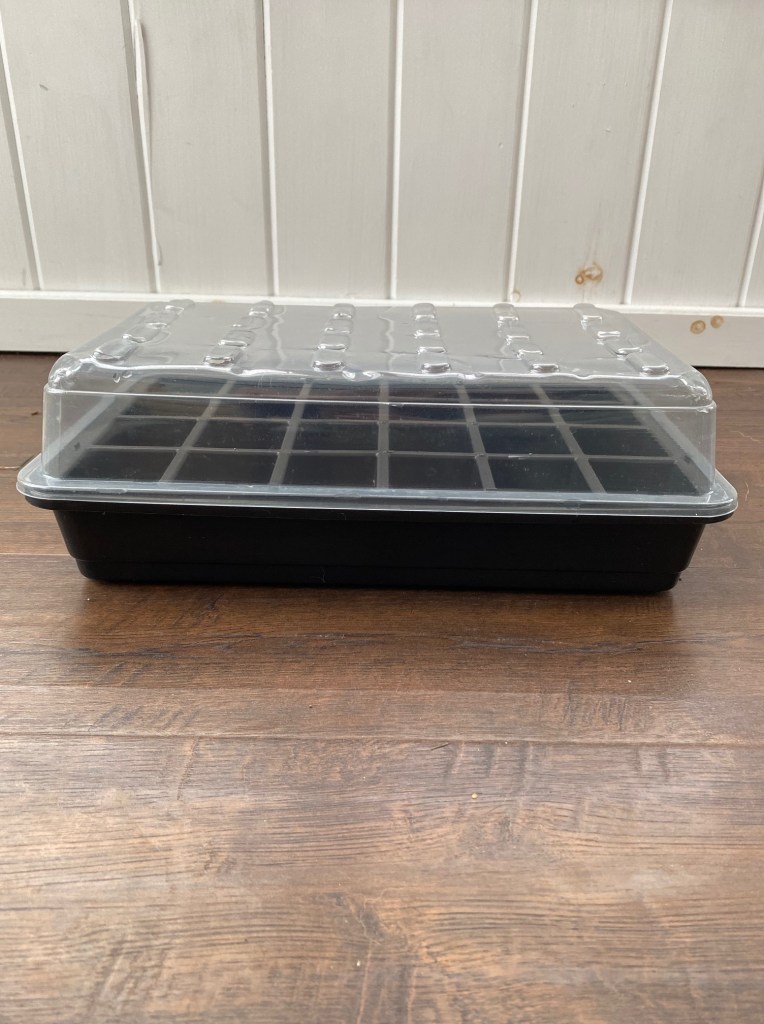
For almost all my starts, I use these durable trays from Hoss Tools. They are super sturdy, easy to clean, and will last a long time. If you use seed trays, just keep in mind that buying cheap and flimsy will save initially, but the thin plastic trays will eventually bend and crack.
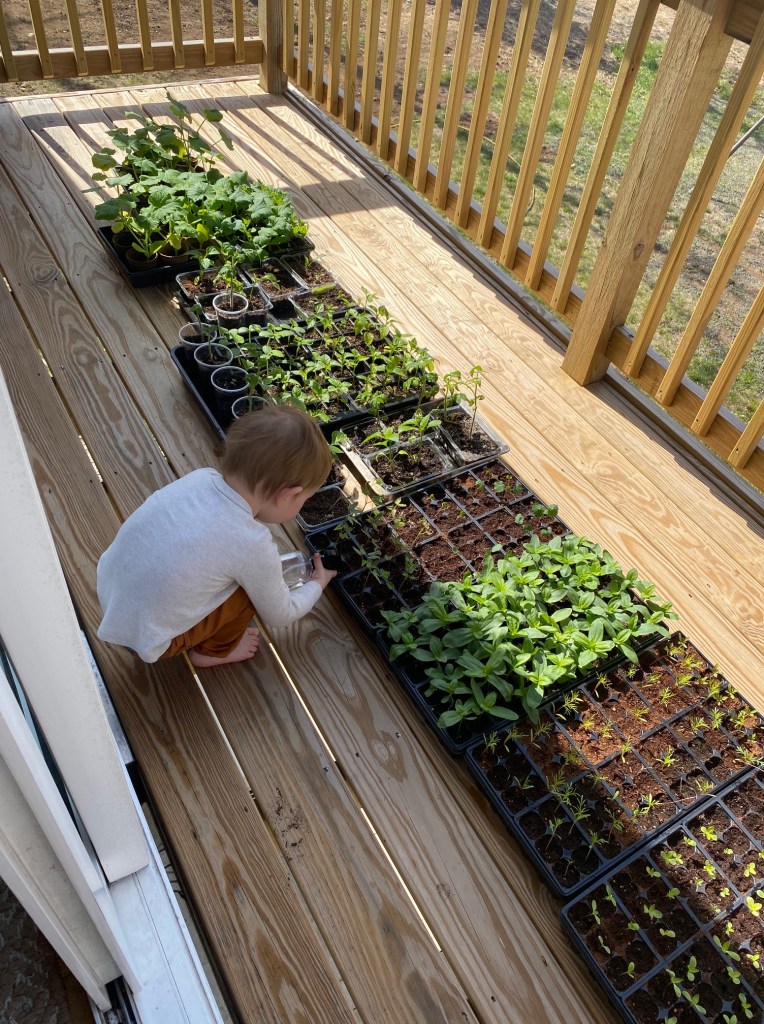
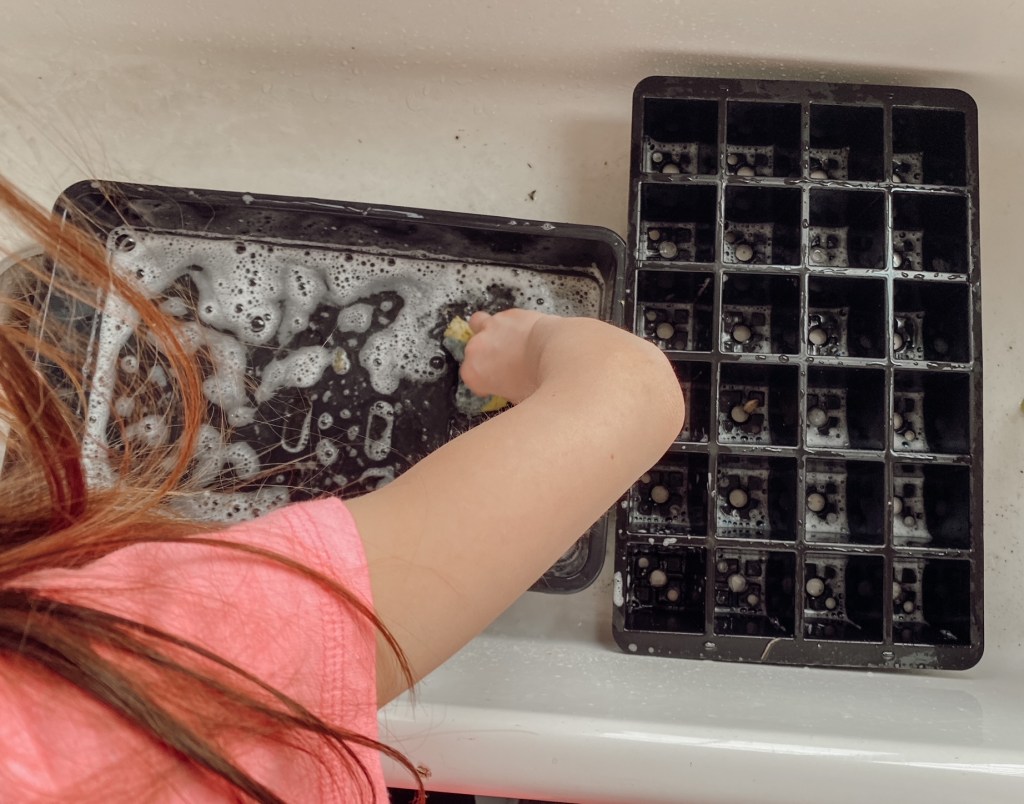
(Pro tip: Get your kids to do the easy, mundane tasks of washing the trays and filling with new soil – because for them it can be fun!).

I do have some larger seed trays that were less expensive that I often just use for starting flowers later in the season. They’re fine for this, as I like to start a lot, and they just need a two week or so head start, but they are harder to clean and won’t last nearly as long.
For starting onions, I like to use these larger square pots. Because onion seedlings are so durable, they do great germinating in a group, then being separated by hand when transplanting outside. Plus, these containers are much deeper than a standard seedling tray, giving them more room to grow (just be sure to trim their tops when they start to flop over).

I have never used a seed blocker, like this one here, but this would be a great option for starting seeds as well. This is also a great option if you start a lot of plants. As long as you have some kind of flat tray to put them onto, you can make as many seed blocks as you need.
One method of seed starting that I have not been happy using are the biodegradable peat pots. You plant directly into these paper pots which are then planted entirely into the garden. I didn’t like these, as the paper material seemed to take the water away from the plant, then after planting the entire pot, they did not actually break down very well. Perhaps the ones that I used a few years ago just weren’t the best material and maybe there are better ones out there, but I do not care for these containers for starting seeds. It’s also an item that you’ll have to buy over and over as you cannot reuse them.
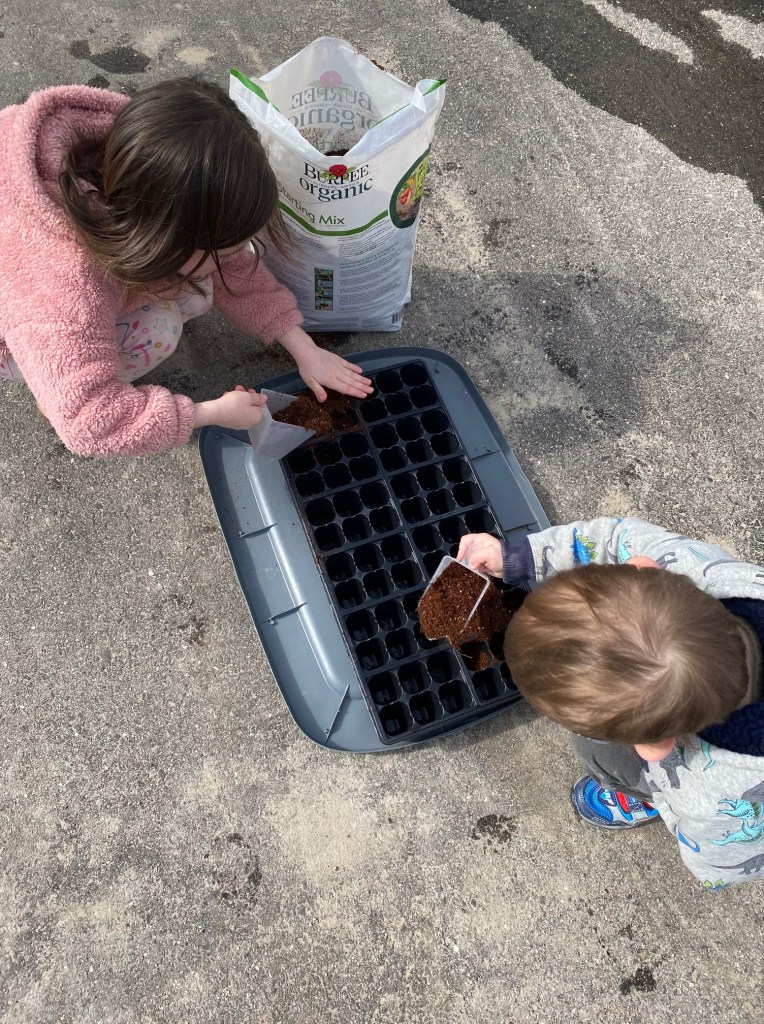
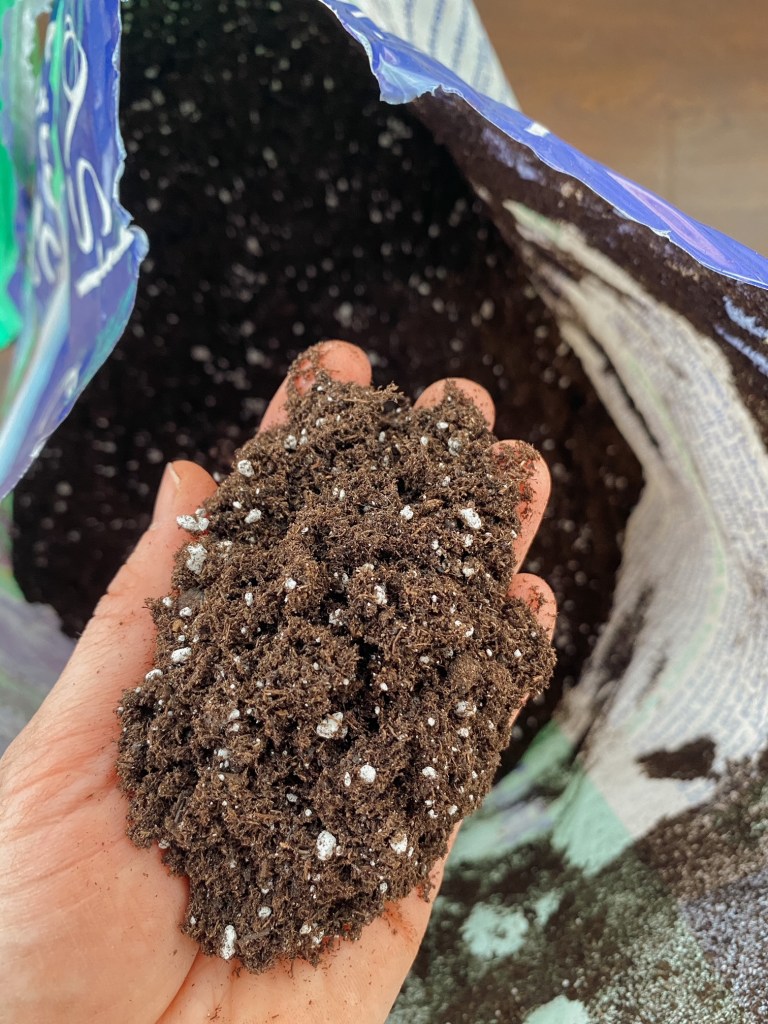
Next is soil. I’ve used several different brands of seed starting mix over the years, and I have always had success with Sprout Island Organic and Natural Seed Starter from Coast of Maine.

The Coast of Maine brand has many different soil blends depending on your need, and their light and fluffy seed starter blend has worked great every time I’ve used it. You can read all about their seed starter mix and order some for yourself here on their website. Plus, it great supporting local companies. We’re right next door in New Hampshire, and I’m a Maine girl, born and raised.
You can also use my Amazon affiliate link to purchase their soil here.
After planting your seeds in seed trays or blocks, you’ll want to cover your seeds until they germinate to help keep in moisture and warmth. You can either purchase your seed trays with a dome, or you can just cover them with plastic wrap until the seeds start to sprout.
If your seedlings don’t get enough sunlight, they’ll start to get leggy and won’t thrive. There are a lot of options out there for grow lights, and some people even just use regular shop lights as well. I’ve used these grow lights from Feit Electric for four years now and they’ve worked great.

They have an adjustable spectrum, they can be linked together so you don’t have cords all over the place, and they come with adjustable chains so you can change the height over your plants. Unfortunately, these do cost a bit more than they did a few years ago when I bought them (but what doesn’t…). And it’s a one-time investment for a helpful tool that you’ll be able to use every year.

A small, but handy item to also have with your seed starting supplies is a programmable outlet timer. This will turn your grow lights on and off at the right times, giving your seedlings adequate light for the day without having to remember to turn the lights on and off yourself.
The number of items to have on hand for starting seeds is really minimal and doesn’t have to be overwhelming. I find that it has been best to invest in just a few quality items that I can use year after year (and even reuse throughout the year, like the shelving and even the outlet timer). So, get those seeds ordered, and have your favorite soil ready – planting time is just around the corner.
